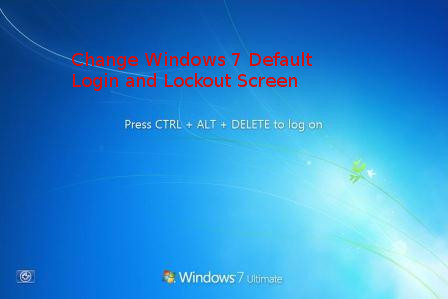
If you travel frequently and use your Windows 7 OSed PC in Coffee Clubs and various locations including Airports or public places, you might want to also obfuscate Windows's login screen to prevent it to be easily recognizable you're on a Windows by its default Blue and all known Login and Lockout screns for security or just for personal fun show off your l337 Skills to your colleagues at work and in this article I'll shortly explain how this is possible on Windows 7 the same is easily possible to do also on Windows 8 and Win 10 and I'll explain this as well in a separate article some time I have time in future.
In Windows 7 by default the Login Screen background is identical to its Lock Screen, one that appears on Windows (button) + L combination and through which if the computer is once locked you can login by pressing CTRL + ALT + DEL key combination, after which standardly you're either prompted for your password or if its a Domain connected corporate PC you're asked for your PIN or picture password.
Windows 7 Users: Set a Custom Login Background
To use a custom login background in Windows 7, you need to
1. Do Windows Registry edit – in order to enabled custom backgrounds
2. And then store the image you want in a special Windows folder.
Step One: Enable Custom Backgrounds in Windows 7
For Windows 7, the ability to set a custom logon background is intended for original equipment manufacturers (OEMs) to customize their systems, but there’s nothing stopping you from using this feature yourself.
As I said prior Windows 7 background change feature is disabled by default, so you’ll have to enable it from the Registry Editor. You can also use the Group Policy Editor if you have a Professional version of Windows (or you're configuring the background for a a whole bunch of Domain run Windows PCs).
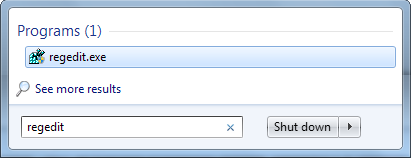
Launch Registry Editor by hitting Start, typing “regedit,” and then pressing Enter.
HKEY_LOCAL_MACHINE\SOFTWARE\Microsoft\Windows\CurrentVersion\Authentication\LogonUI\Background
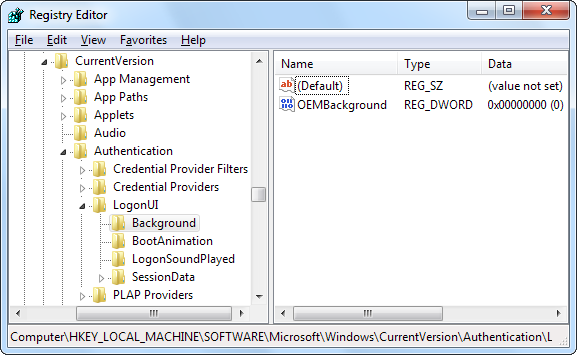
In the right pane, you’ll see a value named OEMBackground. Note that, If you don’t see that value, you’ll need to create it by right-clicking the Background key, choosing
New -> DWORD (32-bit) Value
and then naming the new value “OEMBackground.”
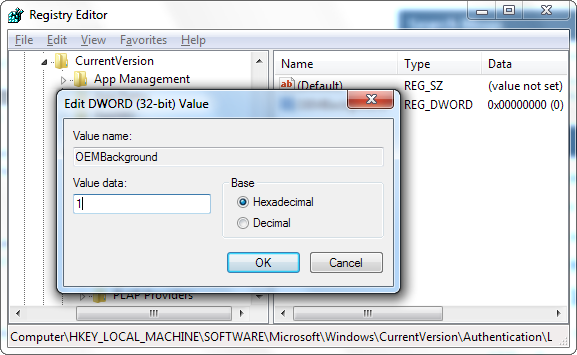
Double-click the OEMBackground value to open its properties window, set its value to 1 in the “Value data” box, and then click “OK.”
!! Be Aware that !!:
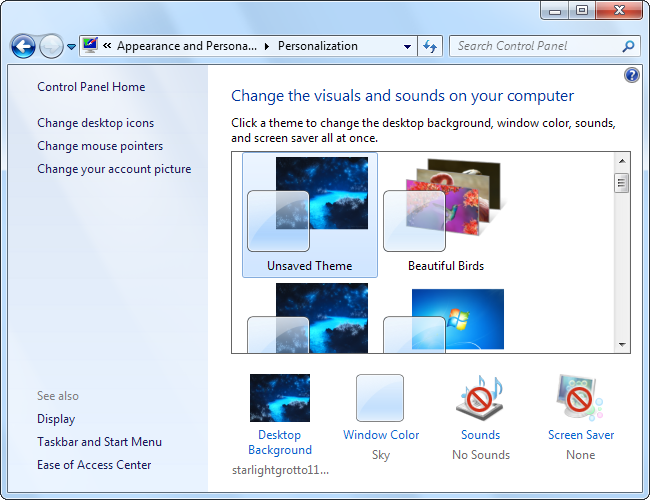
If at any point you decide to select a new theme in the Appearance and Personalization window, this will reset above already made registry value.
Selecting a theme will change the value of the key to the value stored in the theme’s .ini file—which is most likely 0.
Thus in case you do change theme, to have the background be the custom set make sure you don't forget to perform the Registry tweak again.
If you're running a Windows Professional or Windows Enterprise alternative way to set custom background is to directly change using the Local Group Policy Editor instead. The advantage of using Local Group Policy Editor to set a custom Login or Lockout screen background is it will be kept persistent even if you change your themes.
To do it via LGPE,
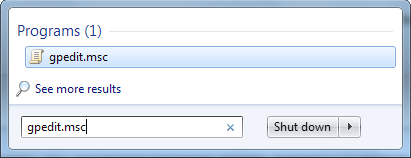
Launch Local Group Policy Editor by pressing Start, typing “gpedit.msc,” and then hitting Enter.
drill down to the following location:
Computer Configuration\Administrative Templates\System\Logon
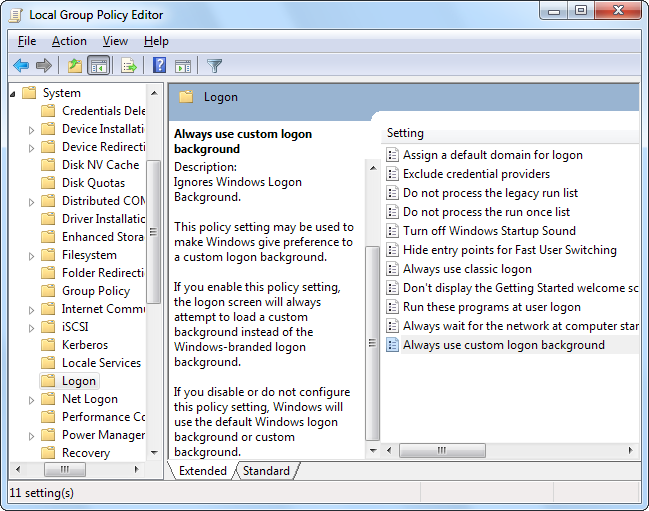
On the right, you’ll find a setting named “Always use custom login background.” Double-click that setting and, in the setting’s properties window, select “Enabled” and then click “OK.”

Next step is to actually set the image you want to use.
Finally Set the Custom Background Image of choice
You can use any image you like, but there are two things you’ll need to keep in mind:
!! Your image must be less than 256 KB in size. !!
You may need to convert your image to something like JPG format to make that happen.
Try find image that matches the resolution of your monitor so it doesn’t look stretched.
Windows looks by default for the custom logon screen background image in the following directory:
C:\Windows\System32\oobe\info\backgrounds
Also defaultly, “info” and “backgrounds” folders donesn't exist, so you’ll need to navigate to C:\Windows\System32\oobe folder and create the subfolders on your own.
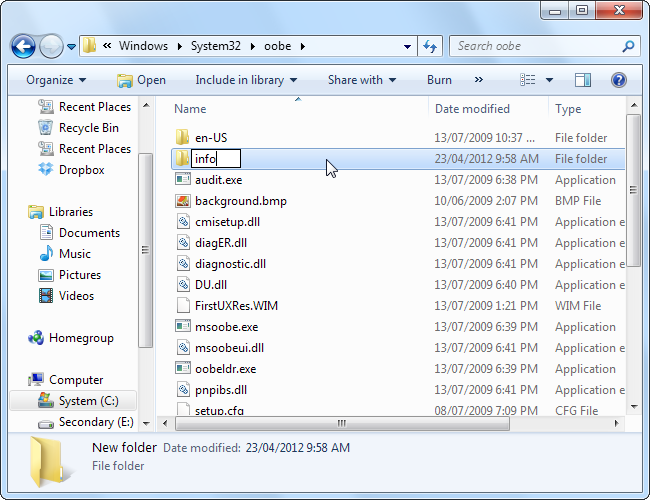
After creating the folders
C:\Windows\System32\oobe\info\backgrounds
Copy whatever background image_whatever.jpg you want to the backgrounds folder and rename the image file to “backgroundDefault.jpg.”