Posts Tagged ‘client server’

How to Install ssh client / server on Windows 10, Windows Server 2019 and Windows Server 2022 using PowerShell commands

Wednesday, March 2nd, 2022

How-to-install-OpenSSH-Client-and-Server-on-Windows-10-Windows-Server-2022-Windows-2019-via-command-line-Powershell

Historically to have a running ssh client on Windows it was required to install CygWin or MobaXterm as told in my previous articles Some Standard software programs to install on Windows to make your Desktop feel  more Linux / Unix Desktop and Must have software on Freshly installed Windows OS.
Interesting things have been developed on the Windows scene since then and as of year 2022 on Windows 10 (build 1809 and later) and on Windows 2019, Windows Server 2022, the task to have a running ssh client to use from cmd.exe (command line) became trivial and does not need to have a CygWin Collection of GNU and Open Source tools installed but this is easily done via Windows embedded Apps & Features GUI tool:

To install it from there on 3 easy steps:


  1. Via  Settings, select Apps > Apps & Features, then select Optional Features.
  2. Find OpenSSH Client, then click Install
  3. Find OpenSSH Server, then click Install


For Windows domain administrators of a small IT company that requires its employees for some automated script to run stuff for example to tunnel encrypted traffic from Workers PC towards a server port for example to secure the 110 POP Email clients to communicate with the remote Office server in encrypted form or lets say because ssh client is required to be on multiple domain belonging PCs used as Windows Desktops by a bunch of developers in the company it also possible to use PowerShell script to install the client on the multiple Windows machines.

Install OpenSSH using PowerShell
 

To install OpenSSH using PowerShell, run PowerShell as an Administrator. To make sure that OpenSSH is available, run the following cmdlet in PowerShell

Get-WindowsCapability -Online | Where-Object Name -like 'OpenSSH*'


This should return the following output if neither are already installed:


Name  : OpenSSH.Client~~~~0.0.1.0
State : NotPresent

Name  : OpenSSH.Server~~~~0.0.1.0
State : NotPresent


Then, install the server or client components as needed:

Copy in PS cmd window

# Install the OpenSSH Client
Add-WindowsCapability -Online -Name OpenSSH.Client~~~~0.0.1.0

# Install the OpenSSH Server
Add-WindowsCapability -Online -Name OpenSSH.Server~~~~0.0.1.0


Both of these should return the following output:
 

Path          :
Online        : True
RestartNeeded : False


If you want to also allow remote access via OpenSSH sshd daemon, this is also easily possible without installing especially an openssh-server Windows variant !

Start and configure OpenSSH Server

To start and configure OpenSSH Server for initial use, open PowerShell as an administrator, then run the following commands to start the sshd service:

# Start the sshd service
Start-Service sshd

# OPTIONAL but recommended:
Set-Service -Name sshd -StartupType 'Automatic'

# Confirm the Firewall rule is configured. It should be created automatically by setup. Run the following to verify
if (!(Get-NetFirewallRule -Name "OpenSSH-Server-In-TCP" -ErrorAction SilentlyContinue | Select-Object Name, Enabled)) {
    Write-Output "Firewall Rule 'OpenSSH-Server-In-TCP' does not exist, creating it…"
    New-NetFirewallRule -Name 'OpenSSH-Server-In-TCP' -DisplayName 'OpenSSH Server (sshd)' -Enabled True -Direction Inbound -Protocol TCP -Action Allow -LocalPort 22
} else {
    Write-Output "Firewall rule 'OpenSSH-Server-In-TCP' has been created and exists."
}


Connect to OpenSSH Server
 

Once installed, you can connect to OpenSSH Server from a Windows 10 or Windows Server 2019 device with the OpenSSH client installed using PowerShell or Command Line tool as Administrator and use the ssh client like you would use it on any *NIX host.

C:\Users\User> ssh username@servername


The authenticity of host 'servername (10.10.10.1)' can't be established.
ECDSA key fingerprint is SHA256:(<a large string>).
Are you sure you want to continue connecting (yes/no)?
Selecting yes adds that server to the list of known SSH hosts on your Windows client.

You are prompted for the password at this point. As a security precaution, your password will not be displayed as you type.

Once connected, you will see the Windows command shell prompt:

Domain\username@SERVERNAME C:\Users\username>
 

A tiny minimalistic CHAT Client Program writen in C

Sunday, July 29th, 2012

A friend of mine (Dido) who is learning C programming, has written a tiny chat server / client (peer to peer) program in C. His program is a very good learning curve for anyone desiring to learn basic C socket programming.
The program is writen in a way so it can be easily modified to work over UDP protocol with code:

struct sockaddr_in a;
a_sin_family=AF_INET;
a_sin_socktype=SOCK_DGRAM;

Here are links to the code of the Chat server/client progs:

Tiny C Chat Server Client source code

Tiny C Chat Client source code

To Use the client/server compile on the server host tiny-chat-serer-client.c with:

$ cc -o tiny-chat-server tiny-chat-server.c

Then on the client host compile the client;

$ cc -o tiny-chat-client tiny-chat-client.c

On the server host tiny-chat-server should be ran with port as argument, e.g. ;

$ ./tiny-chat-server 8888

To chat with the person running tiny-chat-server the compiled server should be invoked with:

$ ./tiny-chat-client 123.123.123.123 8888

123.123.123.123 is the IP address of the host, where tiny-chat-server is executed.
The chat/server C programs are actually a primitive very raw version of talk.

The programs are in a very basic stage, there are no condition checks for incorrectly passed arguments and with wrongly passed arguments it segfaults. Still for C beginners its useful …

GPL Arcade Volleyball – DOS Volleyball oldschool game remake for GNU / Linux

Wednesday, December 21st, 2011

Do you remember that oldschool Arcade VolleyBall game which was so popular on 16 bit (8086 XT) computers.
I remember this game from the years I was 12 years old, back in the days where we the gamers distributed all the DOS games on 360 KB 5.25" diskettes

I was looking over the games available to install on my Debian GNU / Linux today just to be happily suprised to find GPL Arcade Volleyball an identical game remake of the old Arcade Volleyball 8086 classic freeware game.

I remember we spend many hours with friends playing on the old Manifactured in Bulgaria Pravetz 16! computers
During communism and post communism Pravetz was the only computer brand we could buy from the market, as there was limitations on the exported and imported tech equipment within the USSR union.
Pravetz computers are a literal remake of 16 bit IBM 8086 computers and the computer design and integrals was stolen from IBM 16 bit 8086 / 8088 PC architecture

Arcade Volleyball has set a mark on my generation and I believe many people will remember the times this game was a hit with a bit of Nostalgia 😉
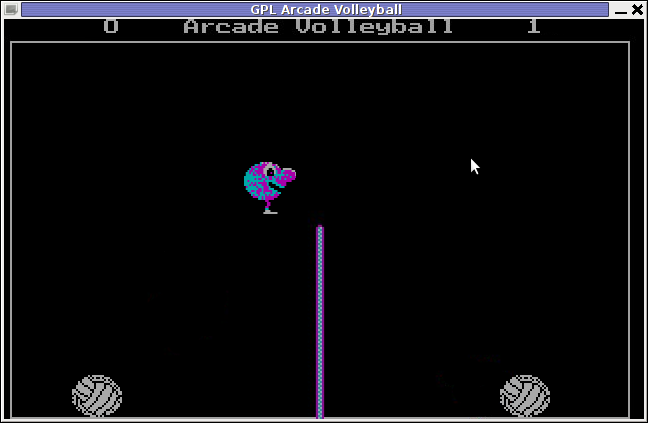
In the Game GPL Arcade Volleyball Debian GNU / Linux

Besides being an identical remake of PC Arcade Volleyball , GPL Arcade Volleyball is even expanded as it includes extra features which the original game lacked. Game includes:

  • Network Volleyball client / server Game (up to 4 players)
  • 6 Game Themes which completely change the game look & feel to be modernistic

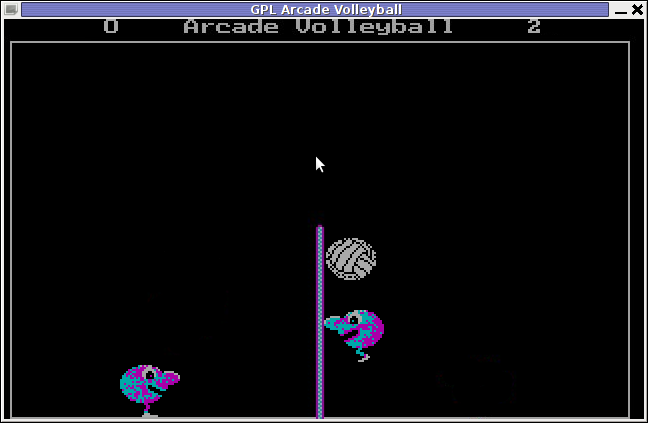
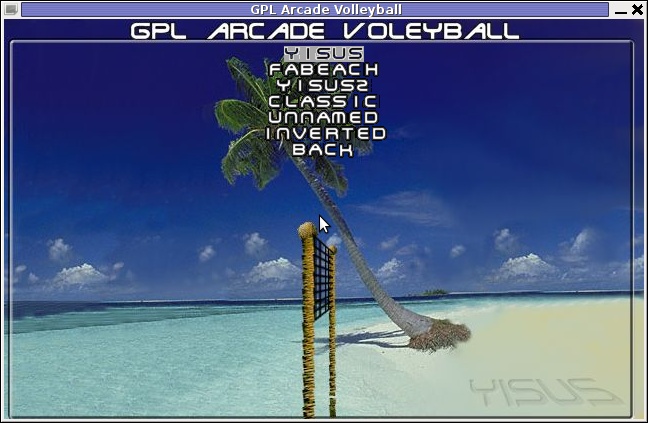
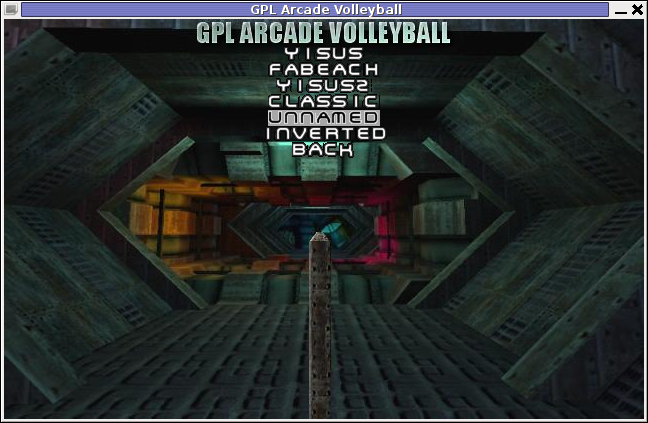
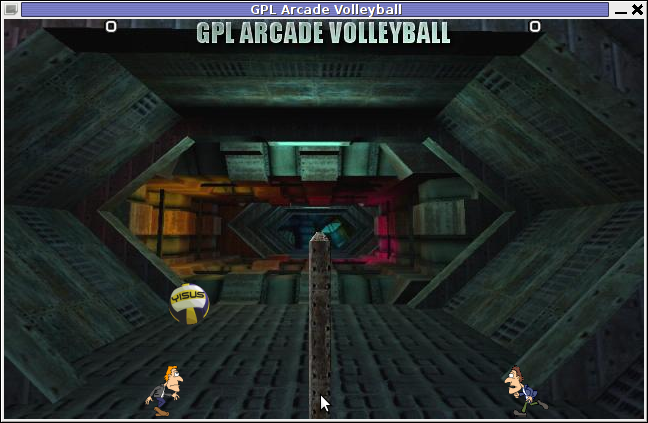
Here are few GAV screenshots of the different existing game Themes:

Screenshot GPL Arcade VolleyBall Yisus

GPL Arcade Volleyball Yisus theme gameplay GNU / Linux
Yisus GAV Theme gameplay screenshot

GPL Arcade Volleyball Unnamed Theme Screenshot

GPL Arcade Volleyball unnamed Gameplay Theme Debian
GAV – Unnamed Theme Gameplay

Screenshot GAV FABeach gameplay
GAV – FaBeach Theme Gameplay

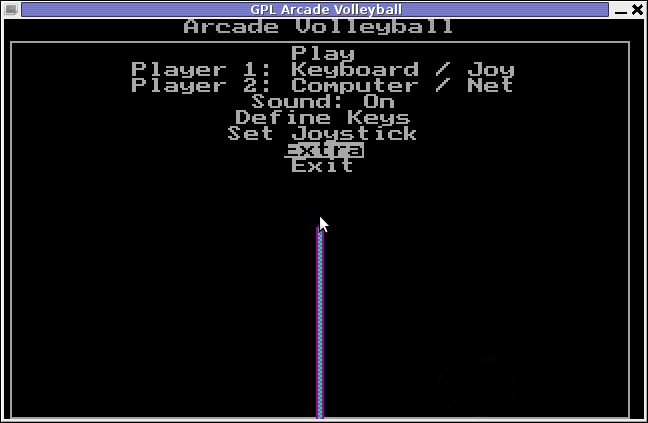
GAV supports both Window and fullscreen modes. To enable Fullscreen mode, while inside the game use:

Extra -> Fullscreen (Yes)

Saving preferences is also something which I if I recall correctly the original game lacked. This is done by navigating to:

Extra -> Save Preferences

GAV is said to support Joystick in resemblance to the original DOS game, though I've never tested it with a joy.

One of the greatest GAV game (hacks) is the Inverted Theme. Selecting it inverts the order in the game, where the game player becomes the volleyball ball and the ball becomes the player 😉

GPL Arcade Volleyball Arcade Inverted Theme - remake of DOS Volleyball Arcade
GAV does not yet not have a Free / Open / Net BSD port as far as I currently see, anyways since the game is Free Software probably soon a port will be available for BSDs as well.
The default GAV game controls are a bit untraditional. By default the one player game starts you play Volleyball game player positioned on the left.

For left player the default control keys are:
 

  • z – move player left
  • c – move player right
  • left shift – jump

Right player controls are:
 

  • Left – left (arrow key)
  • right – right (arrow key)
  • jump – up cursor key

GAV supports also a shortcut key for switching between windowed and full screen game mode by pressing F10
Installing the game on Debian and Ubuntu Linuces is done with:

linux:~# apt-get --yes install gav

Unfortunately gav does not have a definition to be added to GNOME or KDE Applications menus, thus to start the game after installed one has to do it manually by typing either in gnome RUN (Alt+F2) or on command line:

linux:~$ gav

Happy playing 😉