Most of people nowadays are using Google as a default search engine for different reasons, some because of its popularity and most importantly because Google is considered the Largest and most used and superior in quality Internet Search Engine in the World as of time of writting this post.
However as most (if not all) Companies and Corporations nowdays in this terrible freedom enslaving Globalistic world, Google's popularity is not only a result of their superiority of service but a consequence of 17 years constant branding (or better to say user brainwashing) to addict peoples arround the world to their colorful logo and their Loud name GOOGLE (contains 2G's 2O's 1L and 1E or as it might be associated subsconsciously = Le, 2 G, 2 O or LE 2 GO – looks pretty much like the English LET GO – doesn't it??) .
Color programming has become a popular way for companies and brands to keep our minds affected the Colorful addiction and has been definitely quite seriously researched throughout World War I and World War II and Post war times by Governments and Psychological institute studies some of which tried to call it and name it as NLP (Neuro Linguistic Programming) and made a pseudo-science that is more of a spiritual new age occult thing than really based on facts. I guess some of this studies were put in action by most if not all big companies to influence their customer / users.
Google's Logo
Some example that such a mind psyche manipulation techniques are reality could be seen by simply comparing the Color Gamma of Google's Logo, Microsoft Flag (See your start button logo), Ebay Logo, Google Play's logo, Microsoft (Windows)Flag logo, Windows Media Player, Google Chrome, Microsoft Visual Studio, Apple's Old Logo … etc. etc. and a number of key applications we use daily is not a coincidence but a smartly crafted methodology to make people regularly exposed to combination of colors be psychologically influenced and attracted by the Colorful flag message not only in these company Software programs but also in daily products we buy from Shops / Supermarkets.
Windows Flag (Also present on every Windows PC in the start button and during PC boot)
However color programming that Google inflicts (is not really a prooved science but is based on a number of occult gnostic believes combined with some pseudo scientific research on associative human thinking).
Hence these colorful manipulation / programming technique so much adopted by companies is believed to effect on adult people and kids throughout the world because even from kids we're being exposed to this colors in many children books, cartoons cartoons and most importantly by the market which produces this "interesting" entertaining fun colorful kid toys.

Apple's Computer Company Inc Old Logo
In other words these corporations are trying to influence and bring up a postive reaction in us by using these colorful logos propaganda because it has to do with how people were learned to think from the Kinder Garden onwards, especially in democratic countries and probably less in ex-communist totalitarian countries (because they were excluded more or less fromt he global rest of the world for many years), though color programming was partially used also in ex-communist contries too but in a less agressive way than in democratic countries.
With all said above I guess / assume Google (creators) or some of the management and CEO personal undertstood this people's natural daily inflicted love for colorfulness quite well not only because of its psychological materrial meaning but also because Google founders Larry Page and Sergey Brin have been told a mystical teaching about colors that is being preached heavily in recent years by pseudo scientific (occult) companies like Herrmann Brain Dominance Institute HBDI the infamous business module so much loved and adopted by modern businesses – (HBDI) as well as the colors hidden meanings as believed in secret (closed) societies such a masonry fraternities and their front organizations such as Rainbow Girls, Shriners etc..
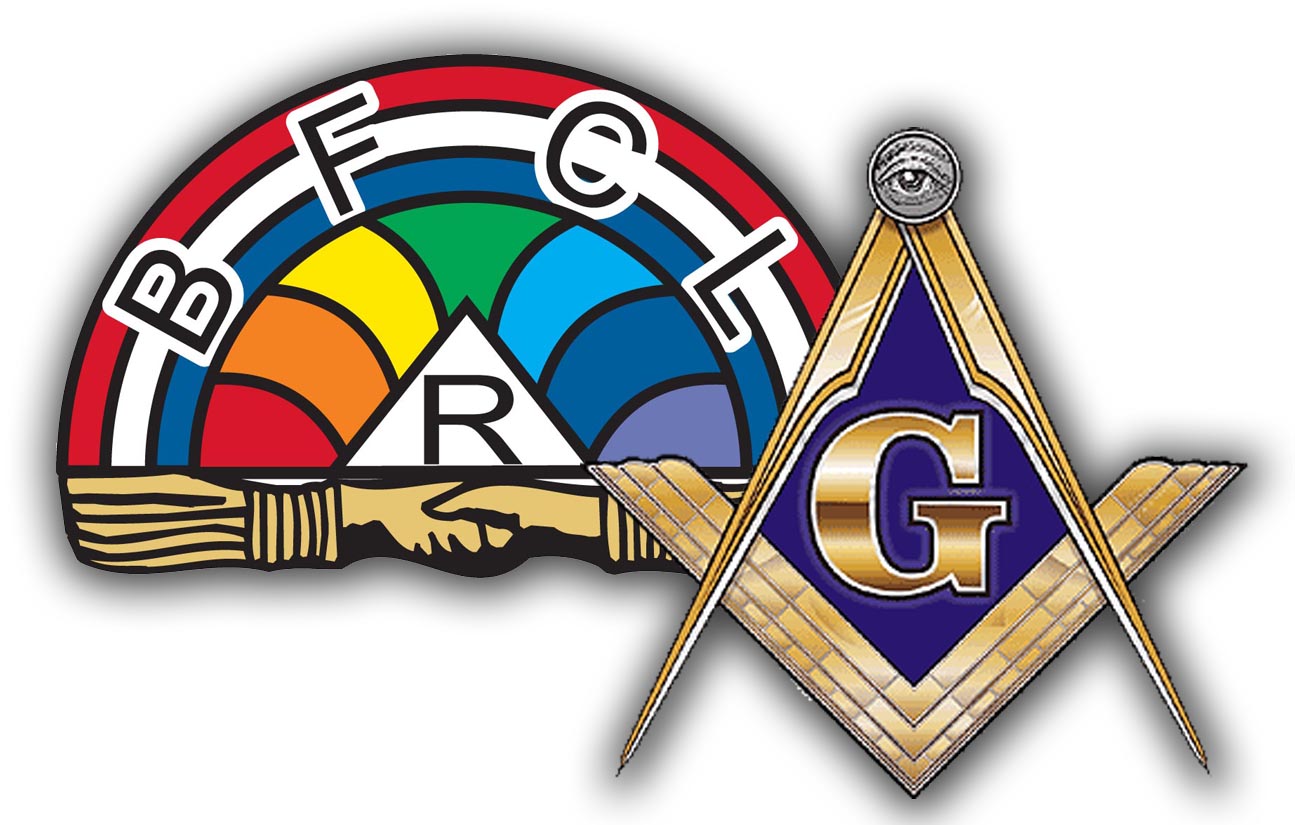
Logo of Masonic Order Rainbow girls together with Masonic Square and Compass famous symbol
Probably the importance of exposed Google Logo colors is not a coincidence but same colors order is important for both Jewish (because of the Rainbow's importance in the Holy Bible Old testament as a sign of covenant God give between God and man as a promise the world will be no more destroyed by Water Flood), that is still strictly followed by Jewish.
Besides that the Google logo colors are also to be seen as one of central symbols of Free Masonry the Eastern Star (note that it is the same as the Satanists Pentagram), Partially in Gay Lesbian and Homosexual Movement's flag logo and many new founded companies that are adopting and embedding occult meaning it in their company brands exposing them selve who are their masters.

An important Masonic Star (Same is seen in Lavey's Church of Satan but in a circle)

Homosexuals movement logo (flag)
With all said, if you're like me and you want to continue use Google as a Search engine and not switch to Something like Russian's Yandex / Yahoo or DuckDuckGo etc. and want to keep using Google but disable annoying Color propaganda of Google Logo and the Google Doodle's that exposes you to people and events that are often anti-Christian (or never related to Christianity) but showing a pop-culture idolizing personalities many of whom are known for their liberal ideas and non-christian world view (e.g. indoctrinating you slowly but surely with secularism and globalistic) ideas, or if you want me to be "politically incorrect" to save yourself from Google Brainwashing.
Strangely perhaps not a co-incidence this colorfulness and order of color, very much resembles the Buddhist prayer flags used heavily by Buddhists (hanged on their large temples), I guess this is not strange since nowdays the Western culture is crazy of integrating Eastern teachings into their Post-Christian "enlightenment" world.

Removing the Google Search Colorful Logo (Substitute Logo with Blank Space) in Mozilla Firefox Web Browser
I've tried a couple of methodologies to get rid of Annoying Google colorful logo that started to be really irritating for me by using DOOD Remove Firefox plugin which was supposed to be able to allow me change the Google Logo site to whatever I like but the link pointing to the FF DOOD Remove plugin was broken, I then tried using a simple hack with GreaseMonkey and My Google Logo and Background changer on my Firefox Version 38.0.1 but as the script used to be last tested reported working on 18-05-2013 as of time of writting this article it didn't work nomore because of some changes in how google serve its Logo Images. I knew there is a way to also dump the logo using some of the embedded Firefox Javascripts but as I was lazy and don't have a good understanding on JS, I decided to not continue that way and instead tried another method with Adblock Plus's custom Filterint capabilities that is able to filter any picture or object out of a html web page.
Using ABP to remove Google Logo turned to be the easiest and only working solution to remove Google's Logo, to do you need to:
1. Have AdBlockPlus extension for Firefox installed first
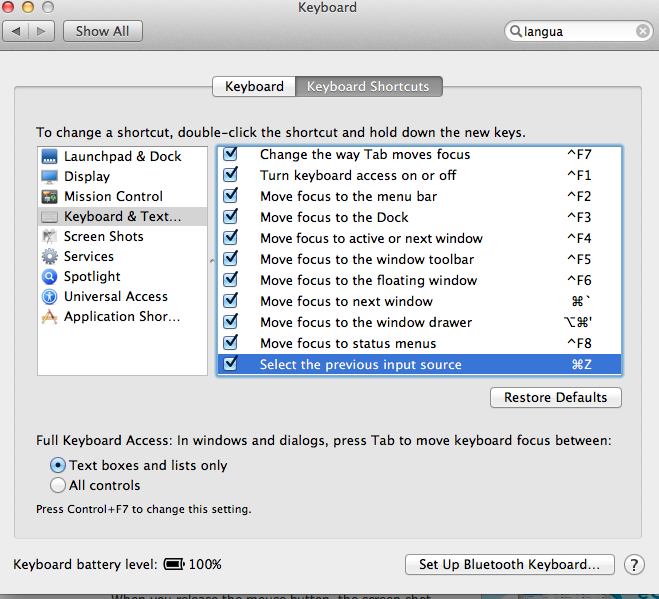
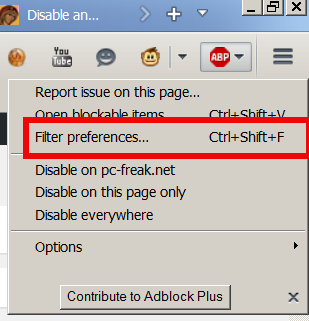
2. Enter ABP Options menu by either right-clicking the extension's icon and choose Filter Preferences as shown in prior screenshot.
3. Go to the Add filter Group button (Type Google and then, click Add Filter button and enter google.*/logos/doodles/, as shown in below screenshot
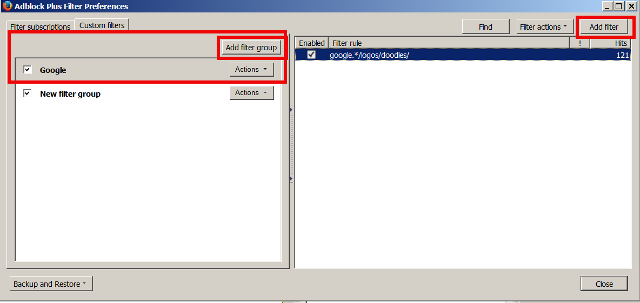
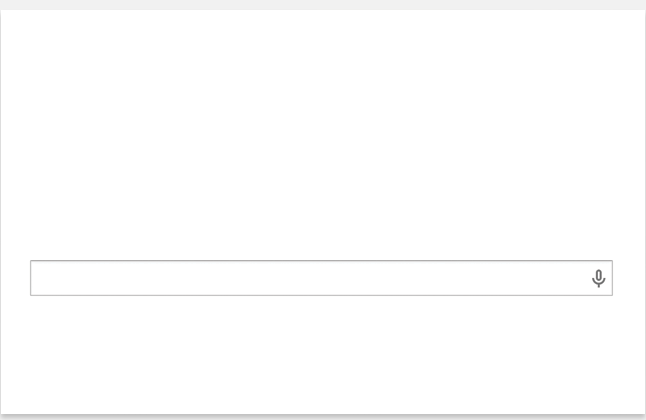
Then give it a try just open www.google.com and you will not see anymore the Google logo, unfrotunately the Logo flashes for less than a second until it is removed but this is the best I can achieve at current point.
Removing the Google Search Colorful Logo (Substitute Logo with Blank Space) in Google Chrome Browser
I've also done a short research on how is possible to Remove Google logo if using Google's Chrome browser and it seems the only meaningful thing I found here is again DOOD Remove (extension) for Chrome.
I've give DOOD Remove for Chrome a try and it works fine, however when you want to open Google you get a short second flash of the Google Logo (after typing google.com in URL bar) before you get the logo wiped so though this works the solution is unfortunately not perfect, the other option to remove the Google Logo branding from searches in Chrome was also to use the Greasemonkey + Userscript as well as Tampermonkey + DoodleGone's script as explained in this post however after enabling TamperMonkey + DoodleGone, the Google logo still was appearing in a behind the search bar (so this worked not), the Google Chrome version where I tried this solution is
Google Chrome 43.0.2357.81 (Official Build) m (32-bit).
So finally it turned out that in order to Disable Google's Kindergarden like looking Logo in Chrome (which is manipulately crafted to inflict kiddish feelings in yourself), I had to Adblock Plus Methodology as described above.
The ABP method to get rid of the ugly google logo also seems to be the only Method that works to remove the Google Logo on Mac OS's (Safari browser).
Hope my article helps others who want to Ban the Google Doodles Logo in your favourite web browser the only condition is to have the Adblock Plus for the browser.
Enjoy Google free logo browsing Google Search engine ! 🙂