Archive for June, 2011

How to Secure Apache on FreeBSD and CentOS against Range: header DoS attack (affecting Apache 1.3/2.x)

Thursday, June 30th, 2011

How to Secure Apache webserver on FreeBSD and CentOS against Range: header Denial of Service attack

Recently has become publicly known for the serious hole found in all Apache webserver versions 1.3.x and 2.0.x and 2.2.x. The info is to be found inside the security CVE-2011-3192 https://issues.apache.org/bugzilla/show_bug.cgi?id=51714

Apache remote denial of service is already publicly cirtuculating, since about a week and is probably to be used even more heavily in the 3 months to come. The exploit can be obtained from exploit-db.com a mirror copy of #Apache httpd Remote Denial of Service (memory exhaustion) is for download here

The DoS script is known in the wild under the name killapache.pl
killapache.pl PoC depends on perl ForkManager and thus in order to be properly run on FreeBSD, its necessery to install p5-Parallel-ForkManager bsd port :

freebsd# cd /usr/ports/devel/p5-Parallel-ForkManager
freebsd# make install && make install clean
...

Here is an example of the exploit running against an Apache webserver host.

freebsd# perl httpd_dos.pl www.targethost.com 50
host seems vuln
ATTACKING www.targethost.com [using 50 forks]
:pPpPpppPpPPppPpppPp
ATTACKING www.targethost.com [using 50 forks]
:pPpPpppPpPPppPpppPp
...

In about 30 seconds to 1 minute time the DoS attack with only 50 simultaneous connections is capable of overloading any vulnerable Apache server.

It causes the webserver to consume all the machine memory and memory swap and consequently makes the server to crash in most cases.
During the Denial of Service attack is in action access the websites hosted on the webserver becomes either hell slow or completely absent.

The DoS attack is quite a shock as it is based on an Apache range problem which started in year 2007.

Today, Debian has issued a new versions of Apache deb package for Debian 5 Lenny and Debian 6, the new packages are said to have fixed the issue.

I assume that Ubuntu and most of the rest Debian distrubtions will have the apache's range header DoS patched versions either today or in the coming few days.
Therefore work around the issue on debian based servers can easily be done with the usual apt-get update && apt-get upgrade

On other Linux systems as well as FreeBSD there are work arounds pointed out, which can be implemented to close temporary the Apache DoS hole.

1. Limiting large number of range requests

The first suggested solution is to limit the lenght of range header requests Apache can serve. To implement this work raround its necessery to put at the end of httpd.conf config:

# Drop the Range header when more than 5 ranges.
# CVE-2011-3192
SetEnvIf Range (?:,.*?){5,5} bad-range=1
RequestHeader unset Range env=bad-range
# We always drop Request-Range; as this is a legacy
# dating back to MSIE3 and Netscape 2 and 3.
RequestHeader unset Request-Range
# optional logging.
CustomLog logs/range-CVE-2011-3192.log common env=bad-range
CustomLog logs/range-CVE-2011-3192.log common env=bad-req-range

2. Reject Range requests for more than 5 ranges in Range: header

Once again to implement this work around paste in Apache config file:

This DoS solution is not recommended (in my view), as it uses mod_rewrite to implement th efix and might be additionally another open window for DoS attack as mod_rewrite is generally CPU consuming.

# Reject request when more than 5 ranges in the Range: header.
# CVE-2011-3192
#
RewriteEngine on
RewriteCond %{HTTP:range} !(bytes=[^,]+(,[^,]+){0,4}$|^$)
# RewriteCond %{HTTP:request-range} !(bytes=[^,]+(?:,[^,]+){0,4}$|^$)
RewriteRule .* - [F]

# We always drop Request-Range; as this is a legacy
# dating back to MSIE3 and Netscape 2 and 3.
RequestHeader unset Request-Range

3. Limit the size of Range request fields to few hundreds
To do so put in httpd.conf:

LimitRequestFieldSize 200

4. Dis-allow completely Range headers: via mod_headers Apache module

In httpd.conf put:

RequestHeader unset Range
RequestHeader unset Request-Range

This work around could create problems on some websites, which are made in a way that the Request-Range is used.

5. Deploy a tiny Apache module to count the number of Range Requests and drop connections in case of high number of Range: requests

This solution in my view is the best one, I've tested it and I can confirm on FreeBSD works like a charm.
To secure FreeBSD host Apache, against the Range Request: DoS using mod_rangecnt, one can literally follow the methodology explained in mod_rangecnt.c header:

freebsd# wget http://people.apache.org/~dirkx/mod_rangecnt.c
..
# compile the mod_rangecnt modulefreebsd# /usr/local/sbin/apxs -c mod_rangecnt.c
...
# install mod_rangecnt module to Apachefreebsd# /usr/local/sbin/apxs -i -a mod_rangecnt.la
...

Finally to load the newly installed mod_rangecnt, Apache restart is required:

freebsd# /usr/local/etc/rc.d/apache2 restart
...

I've tested the module on i386 FreeBSD install, so I can't confirm this steps works fine on 64 bit FreeBSD install, I would be glad if I can hear from someone if mod_rangecnt is properly compiled and installed fine also on 6 bit BSD arch.

Deploying the mod_rangecnt.c Range: Header to prevent against the Apache DoS on 64 bit x86_amd64 CentOS 5.6 Final is also done without any pitfalls.

[root@centos ~]# uname -a;
Linux centos 2.6.18-194.11.3.el5 #1 SMP Mon Aug 30 16:19:16 EDT 2010 x86_64 x86_64 x86_64 GNU/Linux
[root@centos ~]# /usr/sbin/apxs -c mod_rangecnt.c
...
/usr/lib64/apr-1/build/libtool --silent --mode=link gcc -o mod_rangecnt.la -rpath /usr/lib64/httpd/modules -module -avoid-version mod_rangecnt.lo
[root@centos ~]# /usr/sbin/apxs -i -a mod_rangecnt.la
...
Libraries have been installed in: /usr/lib64/httpd/modules
...
[root@centos ~]# /etc/init.d/httpd configtest
Syntax OK
[root@centos ~]# /etc/init.d/httpd restart
Stopping httpd: [ OK ]
Starting httpd: [ OK ]

After applying the mod_rangecnt patch if all is fine the memory exhaustion perl DoS script's output should be like so:

freebsd# perl httpd_dos.pl www.patched-apache-host.com 50
Host does not seem vulnerable

All of the above pointed work-arounds are only a temporary solution to these Grave Apache DoS byterange vulnerability , a few days after the original vulnerability emerged and some of the up-pointed work arounds were pointed. There was information, that still, there are ways that the vulnerability can be exploited.
Hopefully in the coming few weeks Apache dev team should be ready with rock solid work around to the severe problem.

In 2 years duration these is the second serious Apache Denial of Service vulnerability after before a one and a half year the so called Slowloris Denial of Service attack was capable to DoS most of the Apache installations on the Net.

Slowloris, has never received the publicity of the Range Header DoS as it was not that critical as the mod_range, however this is a good indicator that the code quality of Apache is slowly decreasing and might need a serious security evaluation.
 

How to make a mysql root user to login interactive with mysql cli passwordless

Wednesday, June 29th, 2011

MySQL Logo Passwordless root login .my.cnf

I’m using access to the mysql servers via localhost with mysql cli on daily basis.
With time I’ve figured out that it’s pretty unahandy to always login with my root mysql password, I mean each time to enter it, e.g.:

root@mysql-server:~# mysql -u root
Enter password:
...

Thus to make my life a way easier I decided to store my mysql root password in order to allow my root admin user to be able to login to my mysql server without asking for password. This saves time and nerves, as I’m not supposed to look up for the password file I store my server mysql root pass.

To allow my mysql cli interface, to login passwordless to the SQL server I had to create the file /root/.my.cnf readable only for my root user and store my MySQL username and password there.

Here is a sample /root/.my.cnf file:

root@mysql-server:~# cat /root/.my.cnf
[client]
user="root"
pass="mysecretMySQLPasswordgoeshere"

Now next time I use the mysql console interface to access my mysql server I don’t have to supply the password, here is how easier is the mysql login afterwards:

root@mysql-server:~# mysql -u root
Welcome to the MySQL monitor. Commands end with ; or g.
Your MySQL connection id is 3520
Server version: 5.0.77 Source distribution

Type ‘help;’ or ‘h’ for help. Type ‘c’ to clear the buffer.

mysql>

The only downside of using .my.cnf to store permanently the mysql server root and password is from security standpoint.
If for instance somebody roots my servers, where I have stored my root user/pwds in .my.cnf , he will be able immediately to get access to the MySQL server.

Another possible security flaw with using the mysql passwordless login “trick” is if somebody forgets to set proper file permissions to, .my.cnf

Once again the file should possess the permissons of:

root@mysql-server:~# ls -al /root/.my.cnf
-rw------- 1 root root 90 Apr 2 00:05 /root/.my.cnf

Any other permissons might allow non-privileged users to read the file and gain unathorized admin access to the SQL server.
 

How to check if newly installed SSL certificate for IMAP and IMAPS is properly installed

Tuesday, June 28th, 2011

Did you have to regenerate your SSL certificate for your mail server’s IMAP and IMAP SSL service?
Did you have to find out if the newly installed certificates are fine after install?

Here is how:

           root@server-hosting [/usr/local ]# openssl s_client -connect imap.example.com:993
root@server-hosting [/usr/local ]# openssl s_client -connect imap.example.com:143 -starttls imap

The output returned by this two commands will be the imap and imaps configured certificates as well as extensive info concerning the installed SSL, the last chunk of info to be spit is most crucial to know if certificate is fine.
It should be something like:

...
New, TLSv1/SSLv3, Cipher is AES256-SHA
Server public key is 1024 bit
Secure Renegotiation IS supported
Compression: NONE
Expansion: NONE
SSL-Session:
Protocol : TLSv1
Cipher : AES256-SHA
Session-ID: 0B69E91022CB56D64F56CFA08405944D9C4C0069EE4097890B98F1406CF084D5
Session-ID-ctx:
Master-Key: 13745B94E0C5A0604EB7529E7409251961DFD5F4134F3A8F
Key-Arg : None
Start Time: 1309265383
Timeout : 300 (sec)
Verify return code: 18 (self signed certificate)
---
. OK CAPABILITY completed
closed

How to fix “Could not verify this certificate for unknown reasons” SSL certificate lighttpd troubles

Tuesday, June 28th, 2011

Firefox SSL Pro could not verify for uknown reasons solve error

I’ve been issuing new wildcard multiple SSL certificate to renew an expiring ones. After I completed the new certificate setup manually on the server (a CentOS 5.5 Final running SoluSVM Pro – Virtual Private Manager), I launched Firefox to give a try if the certificate is properly configured.

Instead of my expectations that the browser would just accept the certificate without spitting any error messages and all will be fine, insetad I got error with the just installed certificate and thus the browser failed to report the SSL cert is properly authenticated.

The company used to issue the SSL certificate is GlobeSSL – http://globessl.com , it was quite “hassle”, with the tech support as the first certficate generated by globessl was generation based on SSL key file with 4096 key encryption.

As the first issued Authenticated certificate generated by GlobeSSL was not good further on about a week time was necessery to completethe required certificate reissuing ….

It wasn’t just GlobeSSL’s failure, as there were some spam filters on my side that was preventing some of GlobeSSL emails to enter normally, however what was partially their fault as they haven’t made their notification and confirmation emails to pass by a mid-level strong anti-spam filter…

Anyways my overall experience with GlobeSSL certificate reissue and especially their technical support is terrible.
To make a parallel, issuing certificates with GoDaddy is a way more easier and straight forward.

Now let me come back to the main certificate error I got in Firefox …

A bit of further investigation with the cert failure, has led me to the error message which tracked back to the newly installed SSL certificate issues.
In order to find the exact cause of the SSL certificate failure in Firefox I followed to the menus:

Tools -> Page Info -> Security -> View Certificate

Doing so in the General browser tab, there was the following error:

Could not verify this certificate for unknown reasons

The information on Could not verify this certificate for unknown reasons on the internet was very mixed and many people online suggested many possible causes of the issue, so I was about to loose myself.

Everything with the certificate seemed to be configured just fine in lighttpd, all the GlobeSSL issued .cer and .key file as well as the ca bundle were configured to be read used in lighttpd in it’s configuration file:
/etc/lighttpd/lighttpd.conf

Here is a section taken from lighttpd.conf file which did the SSL certificate cert and key file configuration:

$SERVER["socket"] == "0.0.0.0:443" {
ssl.engine = "enable"
ssl.pemfile = "/etc/lighttpd/ssl/wildcard.mydomain.bundle"
}

The file /etc/lighttpd/ssl/wildcard.mydomain.bundle was containing the content of both the .key (generated on my server with openssl) and the .cer file (issued by GlobeSSL) as well as the CA bundle (by GlobeSSL).

Even though all seemed to be configured well the SSL error Could not verify this certificate for unknown reasons was still present in the browser.

GlobeSSL tech support suggested that I try their Web key matcher interfacehttps://confirm.globessl.com/key-matcher.html to verify that everything is fine with my certificate and the cert key. Thanks to this interface I figured out all seemed to be fine with the issued certificate itself and something else should be causing the SSL oddities.
I was further referred by GlobeSSL tech support for another web interface to debug errors with newly installed SSL certificates.
These interface is called Verify and Validate Installed SSL Certificate and is found here

Even though this SSL domain installation error report and debug tool did some helpful suggestions, it wasn’t it that helped me solve the issues.

What helped was First the suggestion made by one of the many tech support guy in GlobeSSL who suggested something is wrong with the CA Bundle and on a first place the documentation on SolusVM’s wiki – http://wiki.solusvm.com/index.php/Installing_an_SSL_Certificate .
Cccording to SolusVM’s documentation lighttpd.conf‘s file had to have one extra line pointing to a seperate file containing the issued CA bundle (which is a combined version of the issued SSL authority company SSL key and certificate).
The line I was missing in lighttpd.conf (described in dox), looked like so:

ssl.ca-file = “/usr/local/solusvm/ssl/gd_bundle.crt”

Thus to include the directive I changed my previous lighttpd.conf to look like so:

$SERVER["socket"] == "0.0.0.0:443" {
ssl.engine = "enable"
ssl.pemfile = "/etc/lighttpd/ssl/wildcard.mydomain.bundle"
ssl.ca-file = "/etc/lighttpd/ssl/server.bundle.crt"
}

Where server.bundle.crt contains an exact paste from the certificate (CA Bundle) mailed by GlobeSSL.

There was a couple of other ports on which an SSL was configured so I had to include these configuration directive everywhere in my conf I had anything related to SSL.

Finally to make the new settings take place I did a lighttpd server restart.

[root@centos ssl]# /etc/init.d/lighttpd restart
Stopping lighttpd: [ OK ]
Starting lighttpd: [ OK ]

After lighttpd reinitiated the error was gone! Cheers ! 😉

Black Cat, White Cat – An awesome gipsy’s life movie by Emir Kosturica ;)

Friday, June 24th, 2011

Black Cat White cat movie cover

Black Cat, White Cat is truly an awesome movie from Emir Kostutirca it really presents the wildness and ridiculousness of being a citizen of the farest places of Eastern Europe the Balkans.
The movie is a story of a Gipsy hamlet, located nearby the Danube. The movie is a drama, commedy, action and even more 😉
If you’re looking for some movie to cheer up in about 2 hours of watching oddities and unexpected turn outs this is surely the movie for you.

The movie is one of the best movies ever made by a Slavonic origin film director.
My only objection to the movie, is towards the part presenting one Bulgarian who is being presented as a hardcore swindler and later on brutally killed and mocked.

This part is a bit too much insulting towards our Bulgarian nation and it also shows the decade hostility between our bordered nations …

I’ll skip the explanations on the movie plot and give you a small crazy scene to give you an idea on what to expect from the movie:

🙂

An Idea – How to put your old CRT Monitors in use ;)

Friday, June 24th, 2011

How to order your old monitor screens

Wonder what to do with these old monitors in the basement ?
Here is an idea 😉

40 Days since our beloved brother in Christ (ipodeacon Georgi Nedev) has presented himself in God

Thursday, June 23rd, 2011

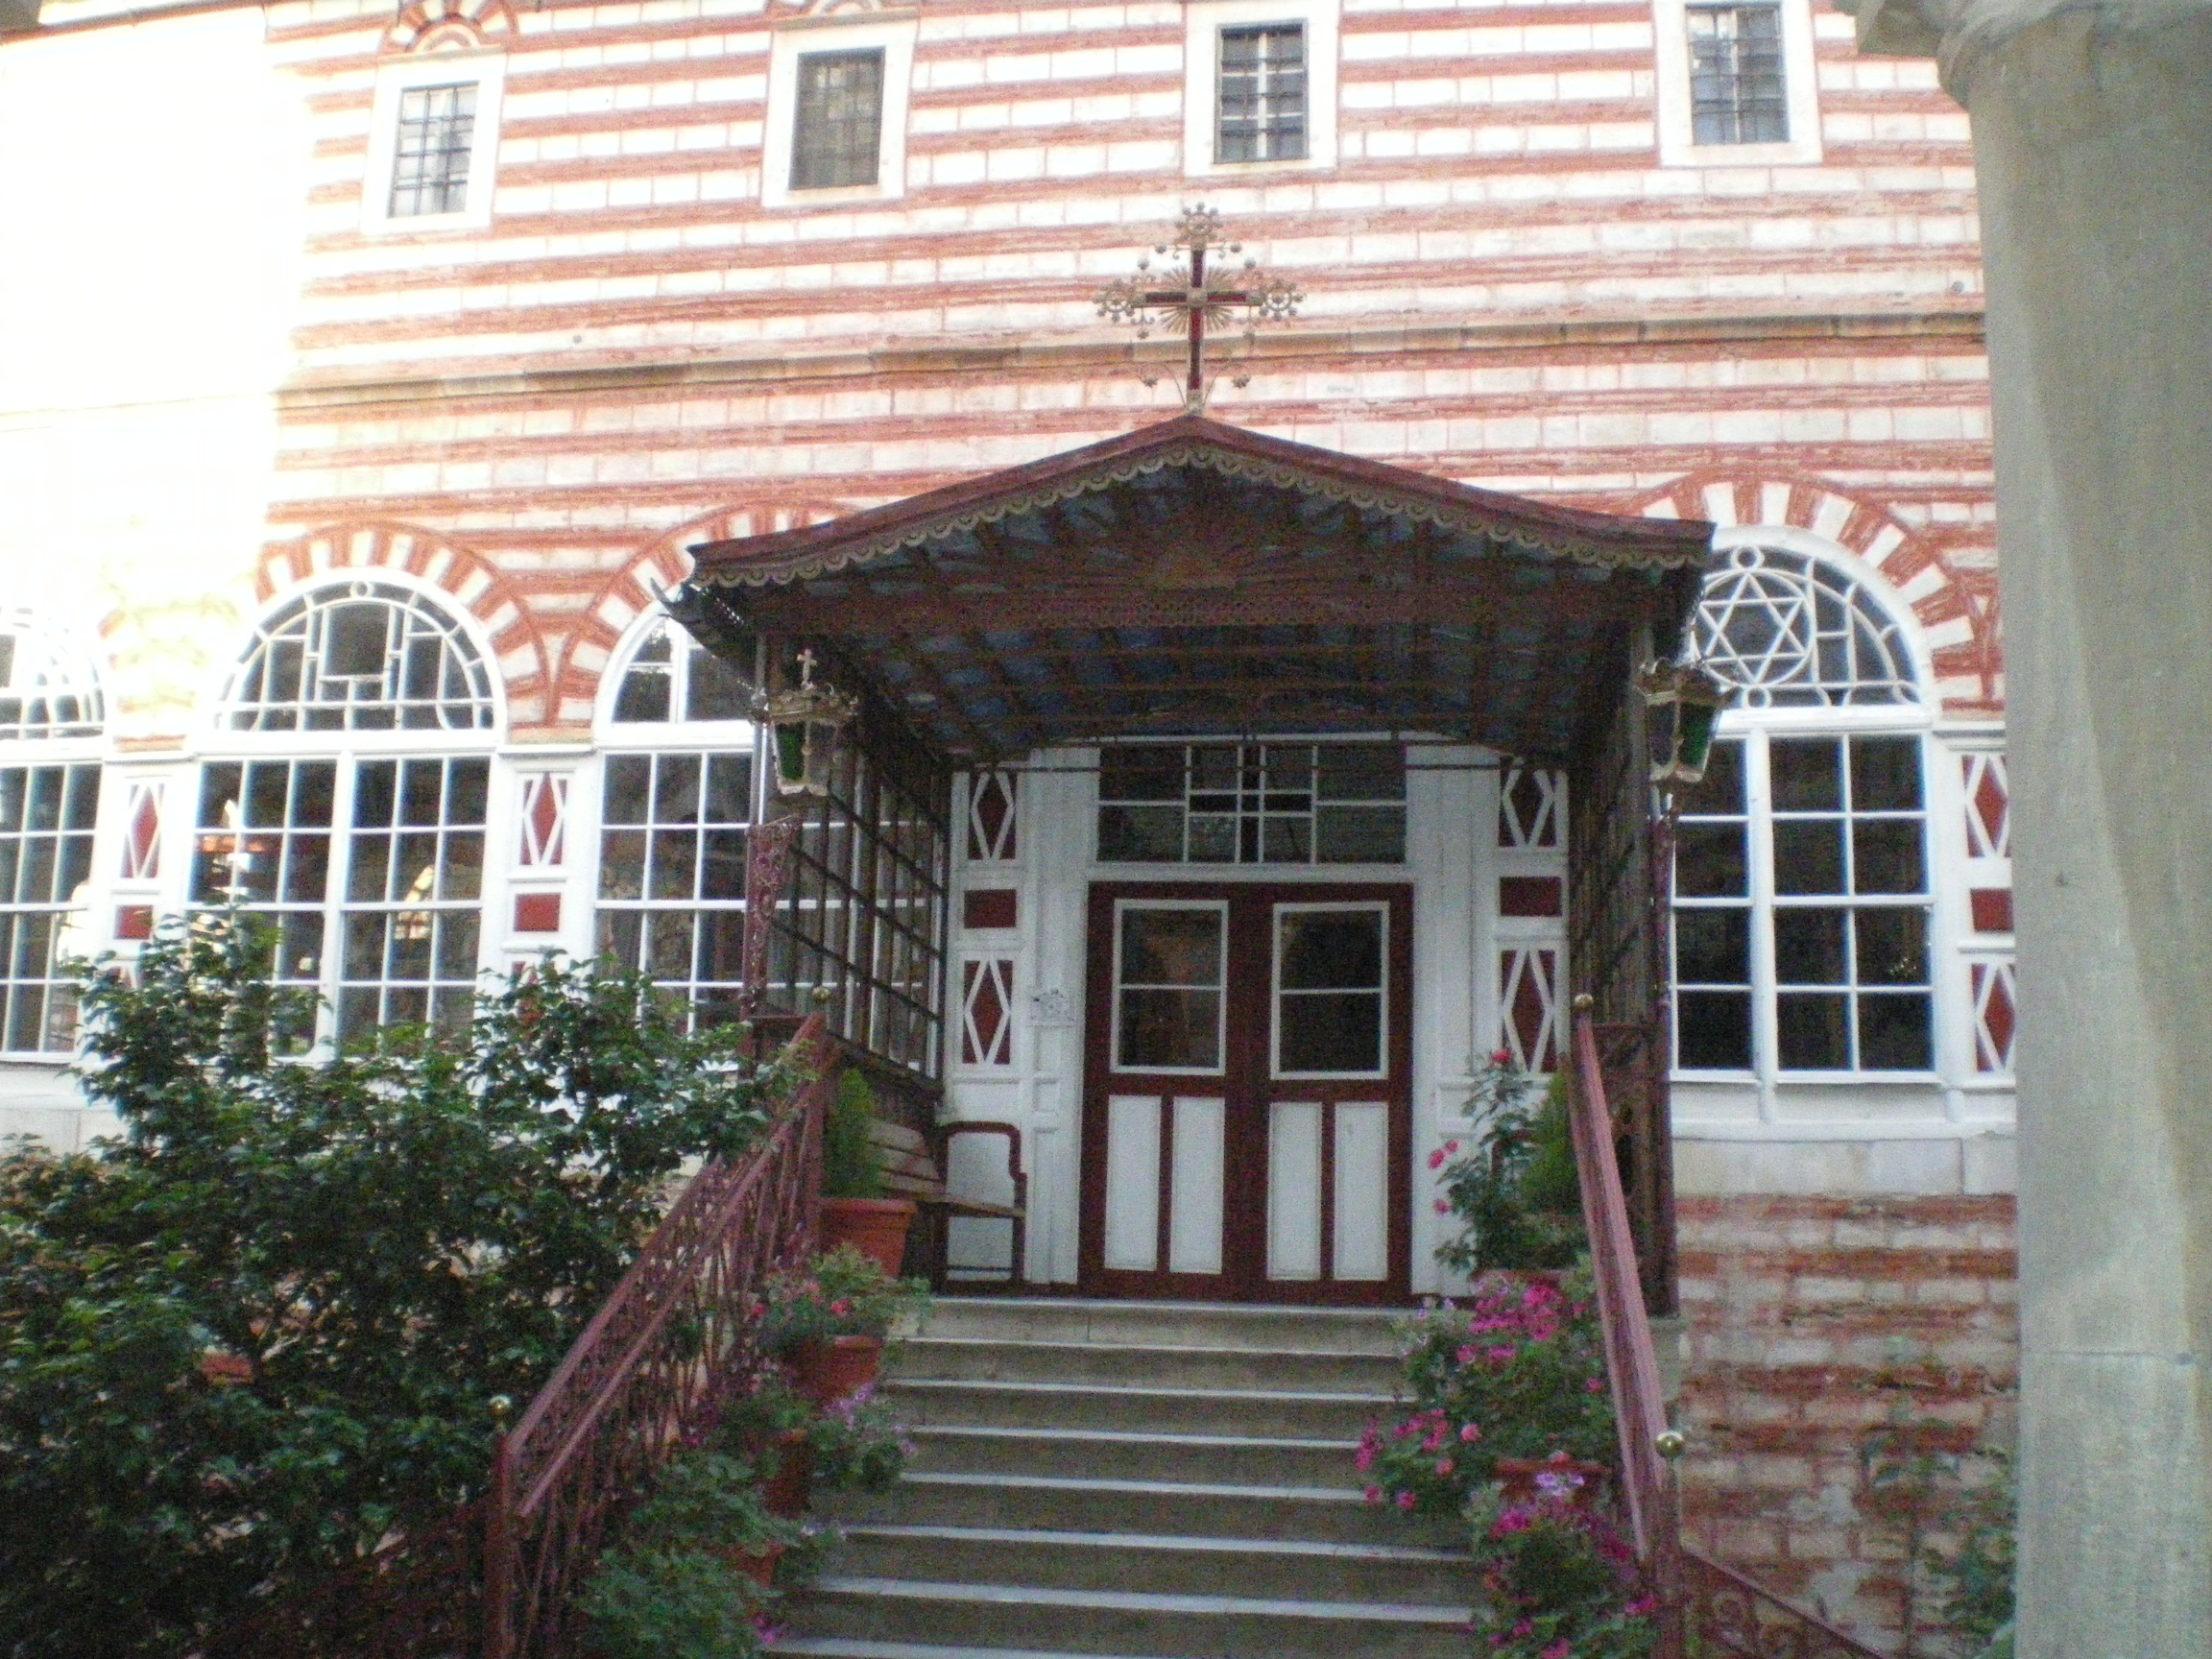
Holy Mount Athos st. Georgi the Glory Bringer - Zographus Monastic main Church
Holy Mount Athos st. Georgi the Glory Bringer – Zographus Monastic main Church

I start this post with the St. George Zographus Monastery’s main Church as the Zographus Monastery on Holy Mount Athos was our brother Georgi last eartly place he wanted to spend the remaining of his eartly life.

Today it’s the 40th day since our brother in Christ (ipodeacon) Georgi Nedev has presented his humble soul to our Saviour Jesus.

ipodeacon Georgi Nedev on a Bishop Church service holding the metropolitan sceptre

This is the only picture I have of our brother Georgi

His living was as humble as his departure from this life and his passing I believe in the eternal life with God.
Georgi had the severe desire to become a monk in Holy Mount Athos and has multiple friends in there which loved him and often prayed for him.
Now on this 40 day in our Bulgarian monastery in Holy Mount Athos, Saint George – The GloryBringer (Zographus) monks will be serving a requiem service (Panihida – as we say in Slavonic)

His departure was striking and sudden for of us in the Church community here in Dobrich’s Holy Trinity Church, as well as not less shocking for the Holy Mount Athos Zographus monks Christian community who loved our brother sincerely.

Some short biographic facts about our brother ipodeacon Georgi Nedev are here
Unfortunately the bio-facts I know about Georgi are very little, as I only knew him for a couple of years. Even though the short time I used to know him, I can say I was blessed through him and I’m exteremely grateful to him, it was through him I’ve learned a bit more about Holy Mount Athos and our Bulgarian monk community that is in Zographus, as well as some very minor details concerning the spiritual Church life that I’ve never thought about.
It was thanks to him I was being encouraged on numerous times in terrible times of desparation and loss of faith and track in life.

Thanks to him I was being explained for a first time, how one can go for a pilgrimage journey to Holy Mount Athos and how one can get the pilgrim’s permit documentation related to going there called in greek diamontirium
He also told me about numerous miracles about Holy Mount Athos, and explained me one needs to pray to the Holy Theotokos Virgin Mary and ask her that is being allowed to enter this holy place.

This last lent, even though his sickness Georgi was regularly visiting the evening services in the Church and was dilegent in his spiritual life.

I remember him expressing his enormous joy the last time I saw him on a Holy Liturgy for he took the Holy Communion.
After the Church service, I asked him how is he, his answer was; I’m not feeling well, but praise be to God! for I was able to take the Holy Communion

Many times when I asked him what are his future plans, he used to answer I don’t know anything, it’s all in the God’s will (hands) for me.

You can see yourself how great his dedicated for God was by his own words.

As our priest, who used to be his confessor said, “Georgi was a righteous man and God took him early on”.

Let eternal be your Memory beloved brother Georgi now and Forver and Ever! Amen!

Howto create a (wildcard / multiple) SSL certificate

Thursday, June 23rd, 2011

Wildcard SSL picture

It’s the first time I’m creating a wildcard ssl certificate. It appeared there is no fundamental difference between generating a normal SSL certificate and generating a wildcard certificate.

The procedure for generating a wildcard SSL certificate is as follows:

1. Generate an SSL key file

server:~# /usr/bin/openssl genrsa -des3 -out domain.com.key 2048
Enter pass phrase for domain.com.key:

Fill in any passphrase you like, the 2048 specifies the encryption level, 2048 is good enough and is the most commonly used as of today.
I’ve saw there is also an option to use 4096 bits encryption but I never tried that myself, I would be glad if somebody can share if he has succesfully established an SSL certificate with 4096 encryption.

2. Generate the certificate request file

server:~# /usr/bin/openssl req -new -key /home/hipo/domain.com.key -out /home/hipo/domain.com.csr

Further on it’s necessery to fill in some info concerning the newly generated webserver SSL, e.g.:

Enter pass phrase for /home/hipo/domain.com.key:
You are about to be asked to enter information that will be incorporated
into your certificate request.
What you are about to enter is what is called a Distinguished Name or a DN.
There are quite a few fields but you can leave some blank
For some fields there will be a default value,
If you enter '.', the field will be left blank.
-----
Country Name (2 letter code) [AU]:
State or Province Name (full name) [Some-State]:
Locality Name (eg, city) []:
Organization Name (eg, company) [Internet Widgits Pty Ltd]:
Organizational Unit Name (eg, section) []:
Common Name (eg, YOUR name) []:
Email Address []:
Please enter the following 'extra' attributes
to be sent with your certificate request
A challenge password []:
An optional company name []:

Fill all the values according to your requirements, the only vital thing here is to fill in a proper Common Name (eg, YOUR name) []:

The Common Name should always be equal to *.domain.com , if something else is typed in the SSL certificate won’t be considered a valid one when placed on the multiple subdomains.

The newly generated domain.com.csr file should be looking something similar to:

server:~# less < domain.com.csr
-----BEGIN CERTIFICATE REQUEST-----
MIIC2jCCAcICAQAwgZQxCzAJBgNVBAYTAkdCMQ8wDQYDVQQIEwZMb25kb24xDzAN
BgNVBAcTBkxvbmRvbjEQMA4GA1UEChMHU2FudHJleDEWMBQGA1UECwwNKi5zYW50
cmV4Lm5ldDEWMBQGA1UEAwwNKi5zYW50cmV4Lm5ldDEhMB8GCSqGSIb3DQEJARYS
bWFzcmF3eXpAeWFob28uY29tMIIBIjANBgkqhkiG9w0BAQEFAAOCAQ8AMIIBCgKC
AQEAlm9NwcQiA+AAVuVIjg8nCCn5nN14C3rSdcRNuE6oFo9E5uhl9yz8YDIg7wNx
FNQsmw0AwMzkao5Qv9yrmHqbht8qqPfG7YpcTiAoAuSaN6Nm25/zYrSu1uRsnc4C
9lINS8Va+n0Jt+CCQmomTKSarJqNfgo3j1ZU/HuOKcCEktIe0eKigMWxFKCM8wLh
CIdj6AwburckW1/ubOGlu2XKdcY5CbFe4cNGyME3rg33ft8b6v/ORWLSBMrt3QGP
bj42uZP6NoLaZCpsquJLeziLkT4rxdArUApdaTaEFrNMnwzGmUK10qmfx8SQodUl
QXmyd+PpQtaglymjIKN0L8Y36QIDAQABoAAwDQYJKoZIhvcNAQEFBQADggEBAIKe
UTXUt7XvaqVOesTmGCuVmv+Lz/GtGOEw+lfCNM4UFB950H975hHKo63YQr9Vqqqn
WlqZ0nXuwbZdfIh3xhTxzUqF/4m00OFQTbM9hwt6dyqLkmcc4J0rnTsvqjPkUsW5
U7iAIB/UIyDYUcAEky3gnokq3MLH42zXBViPM2+g/fkmJA4jaeoHGINbYMuxFh6Z
r2fIgAfGjms+hNaJvINDoBN5y6YUQbeJc+RoXMrG9clrDsUIGfmkTKCkG0BRJ2ki
Sdbm4IZMtQKU/C4a8vxZkFdleGqWeWL1SBtjjAnTtpb0uF+QmOPLcCoKnBwtEUU9
dPJlEzI+TCgAmKhZoXo=
-----END CERTIFICATE REQUEST-----

Next on this BEGIN CERTIFICATE REQUEST will have to be filled in to the certificate issuer website, whether it’s requested, let’s say in GlobeSSL.

Based on the certificate request a valid SSL certificate will be issued by the SSL provider.
Here one important note to make is that if your domain contians some prohibited keywords like, let’s say bank, finance, poker etc., a keywords which might be considered a fraud or forgery then probably the SSL certificate won’t be issued by the SSL issuer and you will have to further contact the SSL cert provider and send them some more information related to the type of business the new website is going to run.
This kind of domain keyword filter, that is implemented by SSL certificate issuer companies is made to protect internet users from possible frauds or scam websites as well as reduce the level of potential dangerous pyramid like businesses that are so modern on the net these days.

Last step before the certificate will be visible in a browser is to set it for a domain name or virtualhost in Apache, lighttpd or whatever webser is used.
As I’m personally using it with Apache webserver, below I’ll describe how to set it in Apache version 2.x.
3. Configure the newly configured SSL certificate to run on Apache virtualhost

Open up the virtualhost file which coresponds to the domain name to be secured with SSL, for example /etc/apache/sites-available/www.domain.com
Within the <Virtualhost> directives place in a code similar to:

SSLEngine on
# domain.com.crt cointains the wildcard SSL certificate generated and obtained by you from RapidSSL
SSLCertificateFile /etc/apache2/ssl/domain.com.pem

Here the file /etc/apache2/ssl/domain.com.pem should contain both the:

—-BEGIN RSA PRIVATE KEY—– issued earlier in step one with openssl command, as well as:

—–BEGIN CERTIFICATE—– which will be issued by the SSL certificate reseller.

Finally it’s necessery that Apache is restarted to load the new configured certificate:

server:~# /etc/init.d/apache2 restart

The above described steps need to be repeated for all the wildcard subdomains which will use the multiple SSL generated certificate and hopefully if all is well tuned, the certificates should start appearing to all the web domain subdomains immediately.

Don’t msg and Drive! ;)

Wednesday, June 22nd, 2011

Don't message and drive picture

Do you message when you drive? Do you know who are you messaging to ? 😉 Arghhh its the GRIM Reaper !!! 🙂

Runing sudo command simultaneously on multiple servers with SSHSUDO

Tuesday, June 21st, 2011

ssh multiple server command execute
I just was recommended by a friend a nifty tool, which is absoutely nifty for system administrators.

The tool is called sshsudo and the project is hosted on http://code.google.com/p/sshsudo/.

Let’s say you’re responsible for 10 servers with the same operating system let’s say; CentOS 4 and you want to install tcpdump and vnstat on all of them without logging one by one to each of the nodes.

This task is really simple with using sshsudo.
A typical use of sshsudo is:


[root@centos root]# sshsudo -u root \
comp1,comp2,comp3,comp4,comp5,comp6,comp7,comp8,comp9,comp10 yum install tcpdump vnstat

Consequently a password prompt will appear on the screen;
Please enter your password:

If all the servers are configured to have the same administrator root password then just typing one the root password will be enough and the command will get issued on all the servers.

The program can also be used to run a custom admin script by automatically populating the script (upload the script), to all the servers and issuing it next on.

One typical use to run a custom bash shell script on ten servers would be:


[root@centos root]# sshsudo -r -u root \
comp1,comp2,comp3,comp4,comp5,comp6,comp7,comp8,comp9,comp10 /pathtoscript/script.sh

I’m glad I found this handy tool 😉