Christians Wake Up !
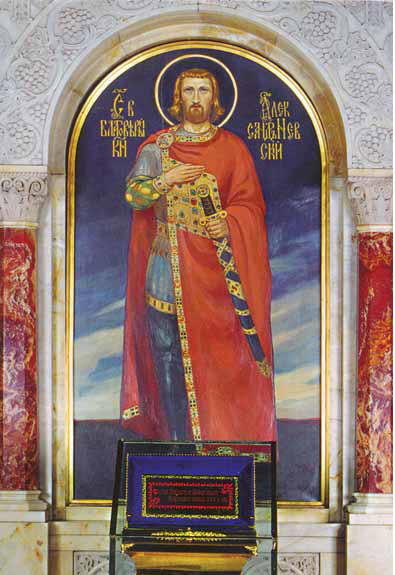
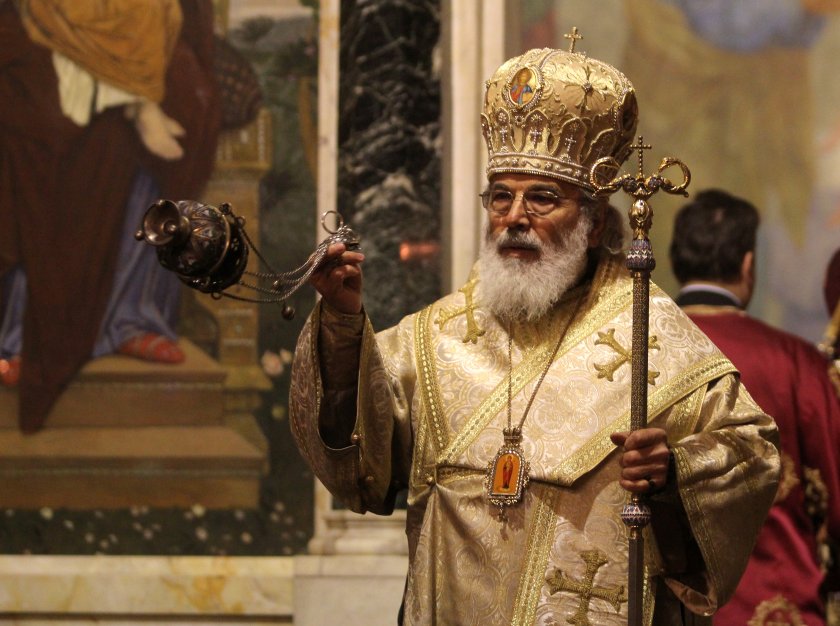
Saint Alexander Nevsky and his Holy Relics parts of which kept in Saint Alexander Nevski
(2nd Largest Orthodox Christian Cathedral on the Balkans)
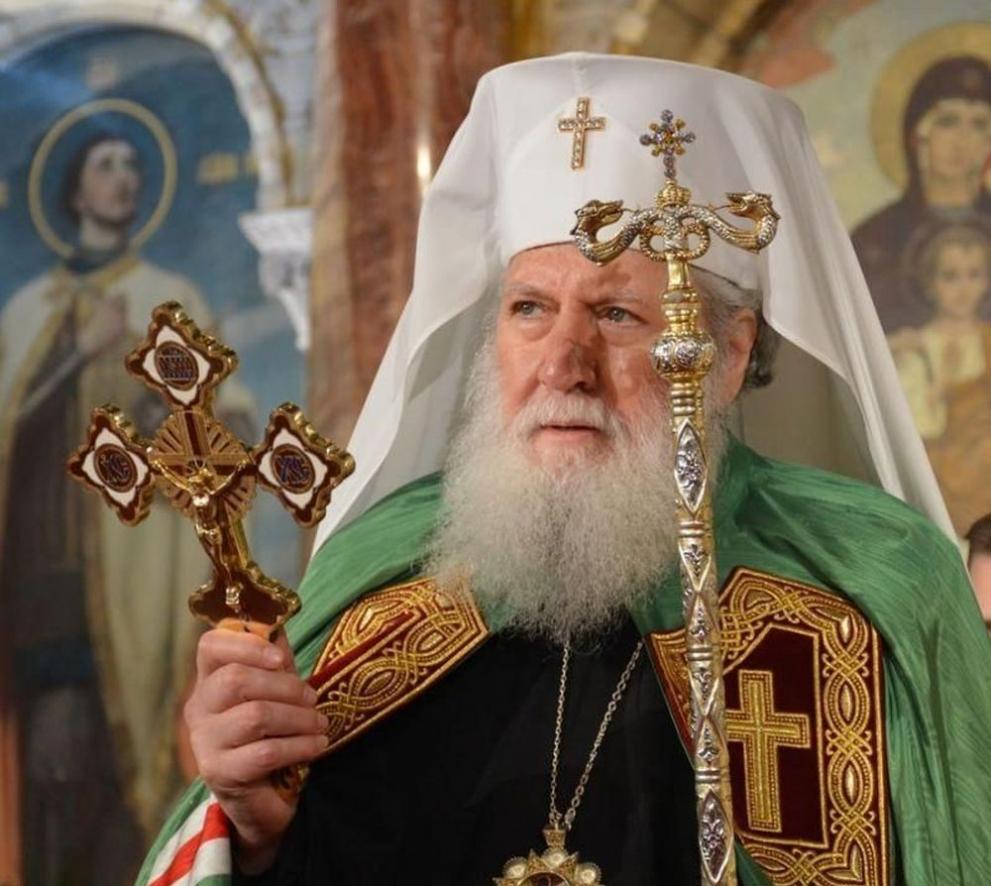
"God is not in the power but in the righteousness", that are the words of Saint Alexander Nevsky recalled also by the Bulgarian Patriarch Neofit (Neofitos) on 23 of November 2019 on the feast of the Saint Warrior Alexander.
Now as the His Holyiness is in Hospital in very critical health situation, where he cannot even speak, and thus unable to take up a position on the illegal activities of some of the Synodal Elders of the l Holy Bulgarian Orthodox Church has "spit over" the Establishment documents of the Church (the so called Church "Cyrkoven Ustav" or Establishment of the Bulgarian Church, which is the next in importance after the Holy writtings (The Bible), The Church tradition and the Canons with their unwalful decision about a "New Synodal order", which takes over the rights of Priests and Layman in their God given right to choose their own eparchy spiritual head representative the eparchy's metropolitan.
Three of the Synodal Elders – Lovchanski Metropolitan Gavriil, Nevrokop's metropolitan Serafim (Seraphim) and Vidin's Metropoitan Danijl (Deniel), during standard Synodal session to approve the choice of the people for new Metropolitan after the the passing of our oldest and perhaps most holy Metropolitan His Holiness Joanicius of Sliven. asked the rest of Synodal Member Metropolitans to stop overriding the Bulgarian Church Establishment legislation, and choose between the two righteous selected candidates approved by people's choice opened and legal voting, those were:
1. Ierotey (with 26 votes for)
and
2. Michael (with 22).
It is important to say until his death bed Ierotey has been a vicar bishop of Joanicius always following, his spiritual guidance and his recommendations without breaking even the smallest, being faithful to the holy elder Joanicius.
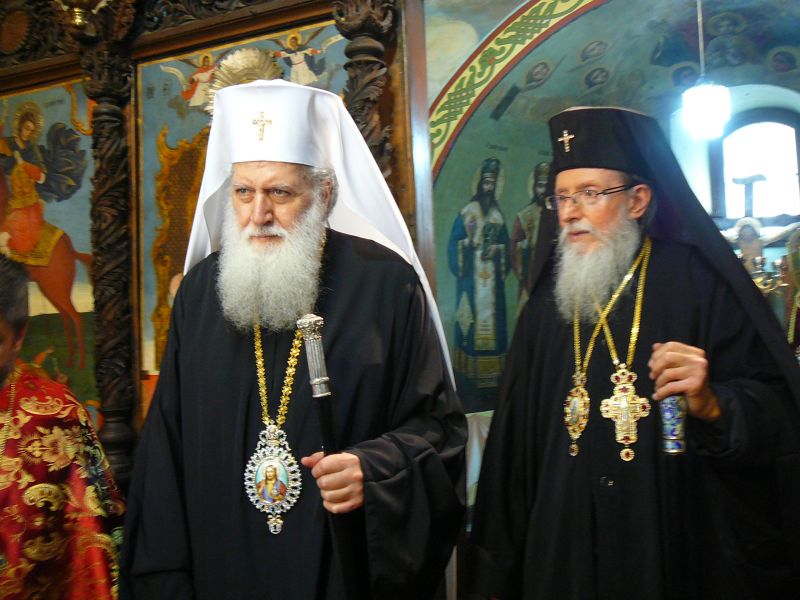
His All Holiness Patriarch Neofit and His Holiness Joanicius
The metropolitans warned this "Creates a very dangerous situation, which leads in question the legal (law) establishments of the whole Church.The legitimacy of the organs and powers of rule of whole Bulgarian Orthodox Church (Bulgarian Patriarchy) BPC-BP in the face of the bulgarian country is in danger."
Bulgarian Metropolit Joseph of America, Canada and Australia came up with official statement from America since, he was unable to join the discussions of the Synod, that the taken decision is improper and he sees a ""communist shadows" in the decision for that new "synodal order" and summons every member of the Snoyd to "return the rights of everyone by following the Church Establishment legislation of BPC-BP". He came with his opinion in the matter late, and came up with his open letter to support continuing the opened procedure selection for new Sliven Metropolitan in stead of its cancellation (cassation), as the choice was made due to both country and law's norms in a very transparent way and even has been publicly shown Live on facebook.
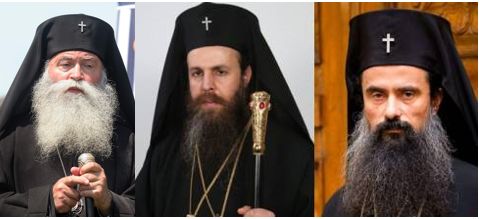
His Holiness Ierotey
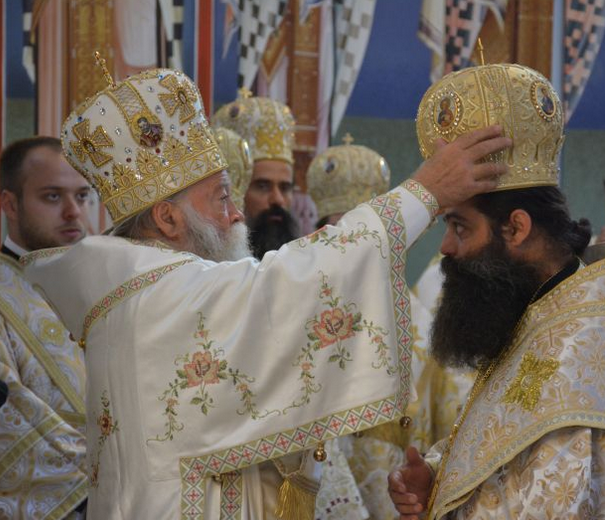
His Hoiliness Mihail
After that, unexpectedly after a personal meeting between the Metropolitan Ioan of Varna and Veliko Preslav with the Sliven's eparchy layman and priests representative and the eparchical order (where 30 out of the 90 Sliven's priests) were present who has asked Iaon (who temporary rules) over the Sliven eparchy to restore order and do venerate their choose for Metropolitan between the canonically selected according to the Bulgarian Church establishment documents following the votings strictly and choosing the 2 bishops Ierotey (Ierotheus) and (Mihail) Michael as the possible choices as well as after a high pressure of his own priests in Varna and Velikopreslov, many of whom knows well what the situation is, he takes the decision to not support the new legislation that is breaking the establishment church laws. He is soon followed by Vraca''s Metropolitan Grigorij who also decides to not support a new legislation for cancellation of the procedure for choice of new Sliven metropolitan.
Metropolitan Nikolay offers, that in their assembly of 12.03.2024 all the decisions to be cancelled, and to follow the procedure as it was choosen in their assembly on 24.02.2024.
So far so good, until now you will think, okay the new orders of the synod is against the establishment orders, but the multitude of bishops is on their way to change it again.
Whether the new orders will be accepted or not will be known on 12 of March, when these decision that Important decision affecting the future of the Bulgarian church wll be taken.
"Because the Church integrity and independence of the national liberation movements, that led to the restoration of Bulgaria in year 1878 … and is one of the main factors for the stability and secrity of our dear motherland Bulgaria" / as Metropolitans Gavriil, Seraphim and Danijl writes".
One of the arguments for the in hurry made decision for "new synodal order" in said to be in the "name of church unity"??. But wait with unwalfulness you cannot achieve church unity, and here is not important the majority, but the truth, that is protected by the minority, which strictly follows the Establishment document laws of the Bulgarian Church, which was accepted with a whole nation approval in which members with the choice and selection of Layman, Priest, Bishops and Metropolitans together and accepted with a consent between those.
The Church establishment document (Cyrkoven Ustav) says that any new rules out of the already set in rules, should be only introduced with the aceptance of the Church national consent in the future, and such rules should be only introduced in situations of high emergency (a situation, which we don't have in the moment).
Introducing such an unwalful things, is shameful and makes our hearts sad, as we're all part of the one holy church and this could lead to even a schism of those who decide to follow the Establishment laws and those who would follow a way of the closed up form of secret organizations, whose decision are taken only by a small group of people without venerating the people's opinion. Unfortunately now such a schism will not be created by a DS (BG Government Security Agencies) like it was in the distant year 1992, by an anti church government decision of the "director of the confessions", when he decided to "fire-up" the Patriarch of the Church Patriarch Maxim and the Holy Synod and tried to appoint a new "Alternative Synod", now from the inside some of the members of the Holy Synod, self-authorizing / self-roganizing to set on the position for new Metropolitans without taking in consideration the preference of the ordinary layman, priests, monks and even bishops and others in the Church, following some of their own financial interests.
Whether there was a phenomenal push from the outside for introducing the "new emergency orders" from the inside by Metropolitan Nikolay as people speak now publicly or another paid "force" is uknown but the internal Church coup (of exchanging the facts) is a fact.
If the new synodal order is being approved tomorrow on 12 of March, that would be also turn against the people who suggested it "the metropolitans", they could be then fired up by, those with higher positions among the metropolitans "due to emergency" and "new orders", but that would be the least of trouble, because suddenly out of a Church with a common faith and common equal decision makers, the church would turn to anti-church governed by a clique of elites who would always impose their will on the people (an anti-church), against the church being a congregartion of each of its members.
What can be done against those phenomenal corporative pressure to advantage from the Bulgarian Church (poor people donated) lands and properties ?
Postings on blogs and social networks such as facebook unfortunately is not enough, and "plus as an information leaked out" out of priest in Plovdiv's eparchy there are organized buses paid by rich Plovdiv businessmena and other People who have financial interests for Metropolitan Nikolay to achieve more power over the Church (a tendency that is seen for years now) in his attempt to took over one of the richest Eparchys and to install his pawn, that would sell church lands for cheap to the businesses and allow even more construction nearby the sea to happen in Sliven, Burgas, Pomorie, Ahtopol, Sozopol and across the Huge bulgarian Sea-Coast lands …
Those paid people will come in front of the Synodal Palace to support the Synodal "new emergency decisions" and scandalize the ordinary Church truely beliving people and servents of Christ. Those fake and often diluded people (some of which would be even true believers), will be blinded, but most of them will be simply forced to go their by their head Metropolitan Nikolay.
Of course if this scenario would happen to a Polital movement or party that would be okay, but when these things happen in the True Church of Christ, then situation becomes absurd.
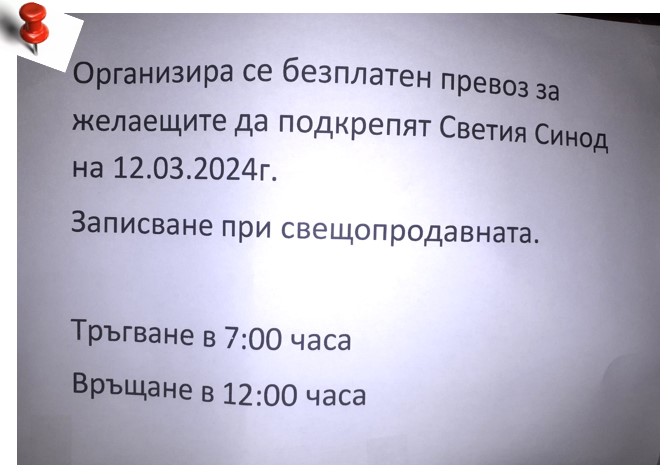
The announcements for organized buses from Plovdiv are being already hanged on many of the Churches in Plovdiv and this whole things is being made unscrupulous in the 21 century not venerating any freedom or truthfulness, blatantly. The announcement says"
"A free of charge trip is organised for those who will to stand behind the New Synodal emergency order on 12.03.2024. To sign up go to the Church go the person selling candles. A Departure in 07:00, return in 12:00 h",
this is announced in Plovdiv's Churches.
"Supporting the Holy Synod" is very sly formulation, which does misleads and is being presented as "the people's" support for the "Synodal orders", like it is about the exchange of the decisions of the Synod on 24 of February.
In order to protect the righteousness and holiness of the Church and its Establishment, we should be next to the Bishops and Metropolitans, who guardian the Church as Jesus Christ ordered Saint Apostle Peter, by telling him "If you love me graze my flock", we should be next to those who venerate the decisions of the Church National Assembly accepted Church Establishment, and which should help to not accept any unwalful decisions on 12 of March (if such are being made by the Synod).
If Third of March 1878, put the stablishment of the Third Bulgarian Country, 4th of March 870 put the stablishment of the Bulgarian Church, when the Constinople's assembly accepted its autonomy.
On 12 March 2024, we still can with a peaceful presence be in front of the Synodal Building, when will be taken а crucial decision about whole Church,
Because if we have the Bulgarian Orthodox Church, we have the Bulgarian country !
Those who read that, Please pray, fervently for us tomorrow in 9 o'clock CET for everyone that will stand up to protect the freedoms of People to continue be part of taking the important decisions in the Church !
Who can let him come, also to state his support, that Country's and God's legal law and orders should be followed !
Lets hope if Metropolitan Joanicius has the perseverance from Heaven, he can pray and put things in order shortly and all pray !
Lord Jesus Christ son of the Blessed God Have mercy on Us the Sinners ! Oh Most Holy Mother of God pray for us !


 GANTTProject Chart
  Planner GANTT Chone Chart
 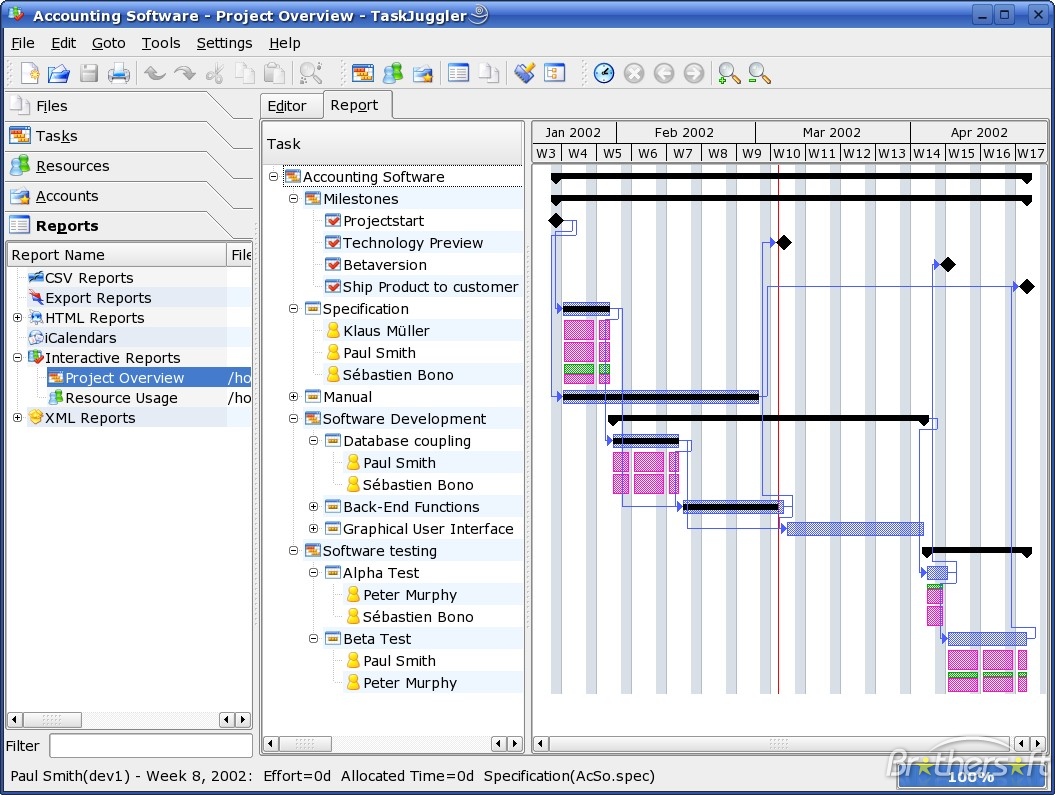 Task Juggler
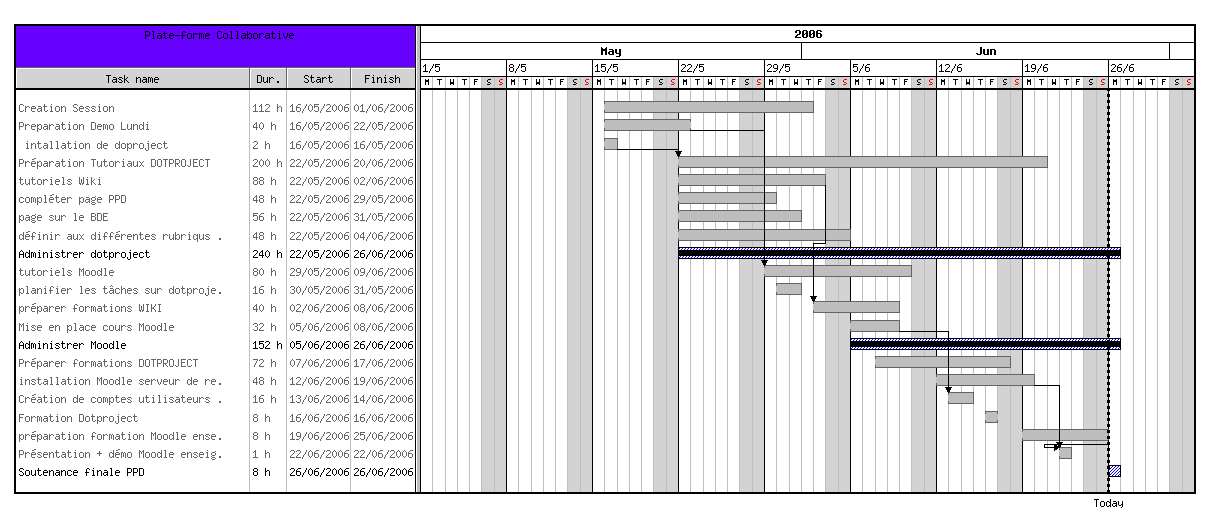


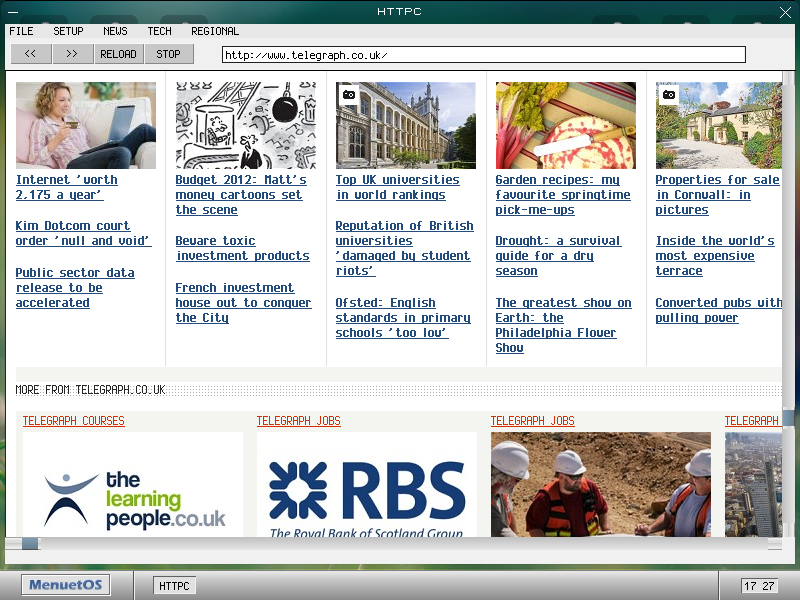
How to permanently enable Cookies in Lynx text browser – Disable accept cookies prompt in lynx console browser
Wednesday, April 18th, 2012The default behaviour of lynx – console text browser on Linuces, BSD and other free OSes is to always ask, for the accept cookies prompt once an internet web page is opened that requires browser cookies to be enabled.
I should admin, having this "secure by default" (always ask for new cookies) behaviour in lynx was a good practice from a security point of view.
Another reason, why this cookies prompt is enabled by default is back in the days, when lynx was actively developed by programmers the websites with cookies support was not that many and even cookies was mostly required for user/pass authentication (all those who still remember this days the websites that requires authentication was a way less than today) …
With this said the current continuing security cautious behaviour in the browser, left from its old days is understandable.
However I personally sometimes, need to use lynx more frequently and this behaviour of always opening a new website in text mode in console to prompts me for a cookie suddenly becomes a big waste of time if you use lynx to browser more than few sites. Hence I decided to change the default way lynx handles cookies and make them enabled by default instead.
Actually even in the past, when I was mainly using internet in console on every new server or home Linux install, I was again making the cookies to be permanently accepted.
Everyone who used lynx a few times already knows its "annoying" to all time accept cookie prompts … This provoked me to write this short article to explain how enabling of constant cookie accepting in lynx is done
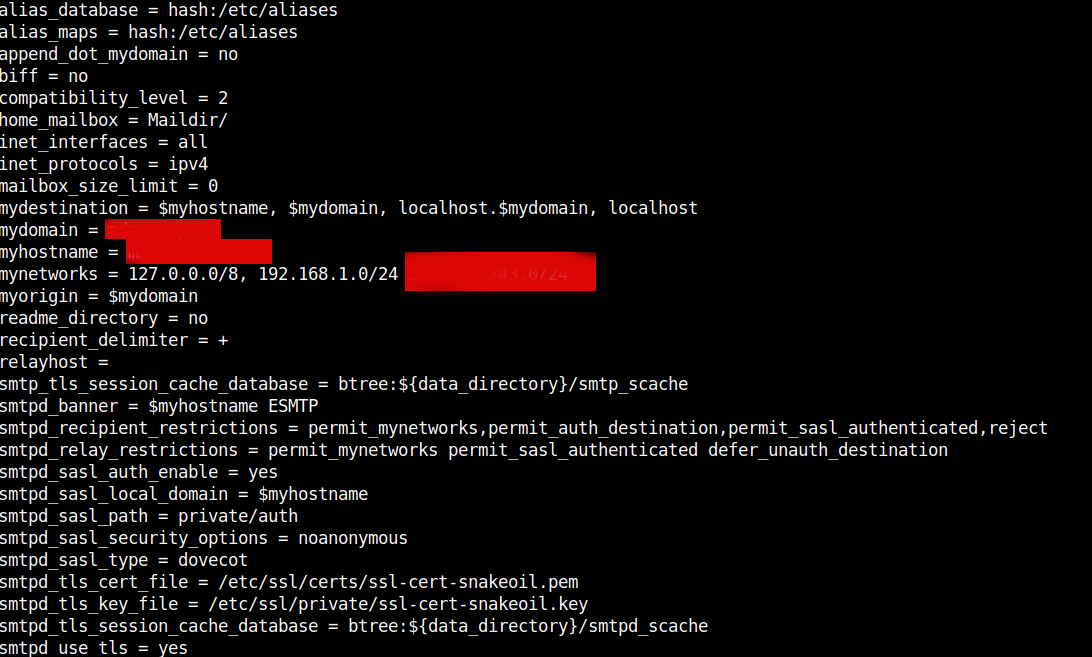
To enable the persistent cookies in lynx, one needs to edit lynx.cfg on different GNU / Linux and BSD* distributions lynx.cfg is located in different directory.
Most of the lynx.cfg usual locations are /etc/lynx/lynx.cfg or /etc/lynx.cfg as of time of writting this post in Debian Squeeze GNU / Linux the lynx.cfg is located in /etc/lynx-cur/lynx.cfg, whether for FreeBSD / NetBSD / OpenBSD users the file is located in /usr/local/etc/lynx.cfg
What I did to allow all cookies is open lynx.cfg in vim edit and change the following lines:
a)
#FORCE_SSL_COOKIES_SECURE:FALSEwith
FORCE_SSL_COOKIES_SECURE:TRUEb)
#SET_COOKIES:TRUEuncomment it to:
SET_COOKIES:TRUEc) next, change
ACCEPT_ALL_COOKIES:FALSEACCEPT_ALL_COOKIES:TRUEOnwards opening any website with lynx auto-accepts the cookies.
For people who care about there security (who still browse in console (surely not many anymore)), permanently allowing the cookies is not a good idea. But for those who are ready to drop off little security for convenience its ok.
Tags: ALL, authentication, Auto, browser cookies, BSD, bsd distributions, cfg, change, convenience, Cookie, default behaviour, Draft, everyone, file, free oses, GNU, gnu linux, good, How to, internet web, Linux, Lynx, lynx one, NetBSD, Onwards, OpenBSD, page, persistent cookies, point of view, programmers, quot, reason, security point, squeeze, support, text, text browser, text mode, time, TRUEb, TRUEc, TRUEuncomment, uncomment, use, using internet, vim, waste, waste of time, web page, writ
Posted in Curious Facts, Everyday Life, FreeBSD, Linux, System Administration | 1 Comment »